Scena Documentation
This file will help you to start working with your new WordPress Theme. First steps installing, guides to create your own pages, portfolio views or any other feature included.
This file will help you to start working with your new WordPress Theme. First steps installing, guides to create your own pages, portfolio views or any other feature included.
Once your theme is installed, you will notice a message at the top of your dashboard prompting you to install certain plugins. To insure that your site has all of the same functionality that you see in the demo, it’s important that you install and activate these plugins.

You can import the demo content with just one click. Go to Appearance > Import Demo Data and click Import Demo Data button. The importing process can take several minutes.
There are 3 ways to update the theme:
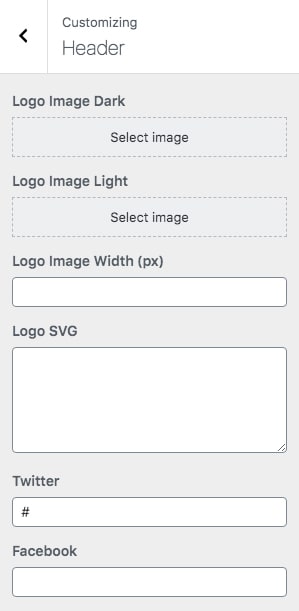
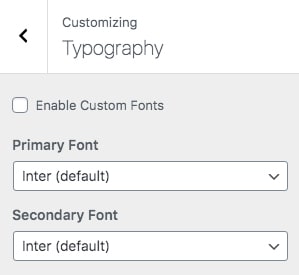
All the global theme options can be configured in Customizer (Appearance > Customize). The options are grouped in several sections, outlined below.
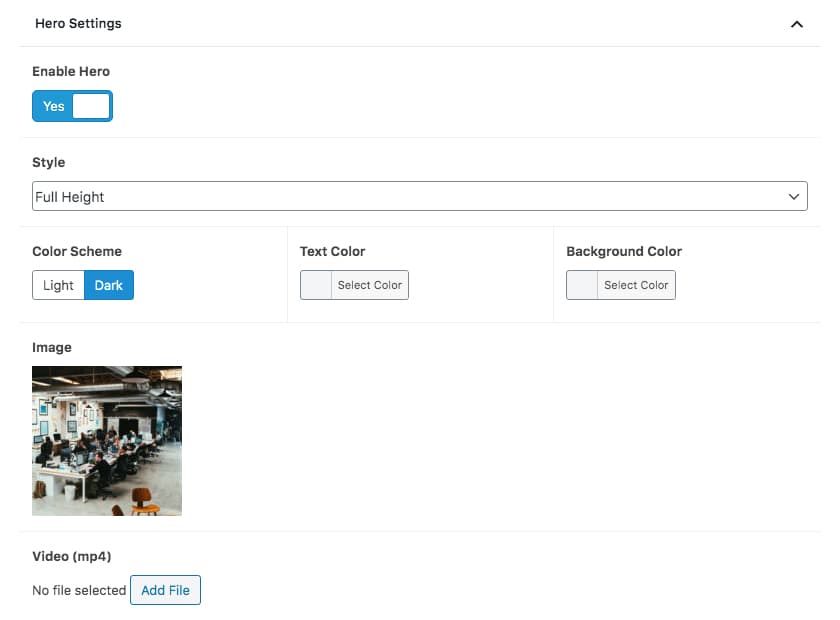
The Hero header is the first content of the page. It can contain a big image, video and page title. You can set up individual hero for each of your page/project/post. Go to your page and scroll down to the "Hero Settings".
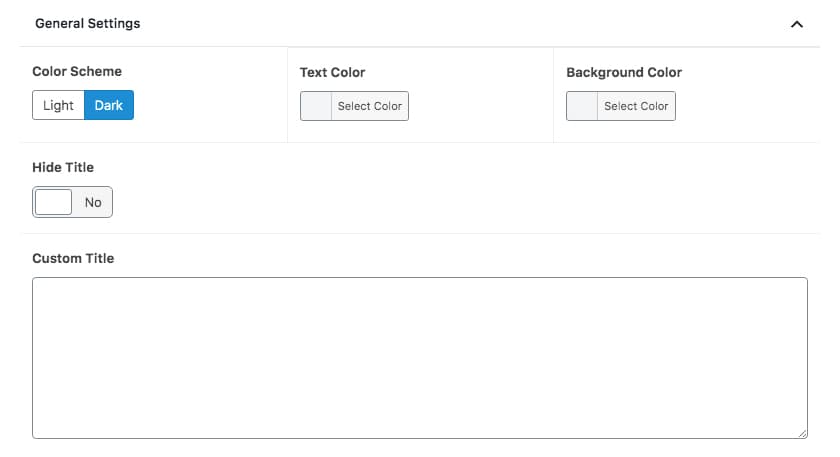
Each page can have a unique style. The general color scheme will be applied everywhere in the website (via Appearance > Customize > Color Scheme), but if you want a certain page to have a custom background or text color, this is the area to edit.
This theme requires Сontact form 7 plugin for contact form. After installing it, go to Contact > Add New (or edit current one) and in Form field paste what's below:
<div class="form-inputs">
[text* your-name placeholder "Name"]
[email* your-email placeholder "Email"]
[tel your-tel placeholder "Phone"]
[select menu-837 "Topic" "New Project" "General Queries" "Say Hello"]
</div>
[textarea your-message x6 placeholder "Message"]
[submit "Send"]
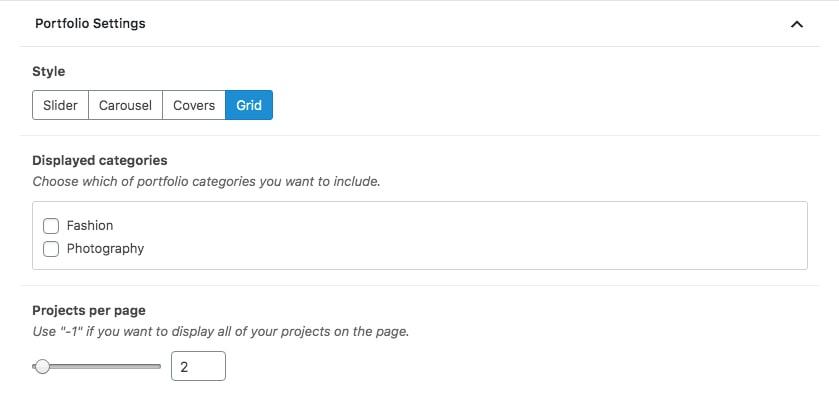
Before you add any Portfolio item please add a Portfolio page (if not done yet).
Bellow editor you can find "Portfolio Settings" section. Here you can change the style, choose which categories to show and setup how many project to dipslay per page.
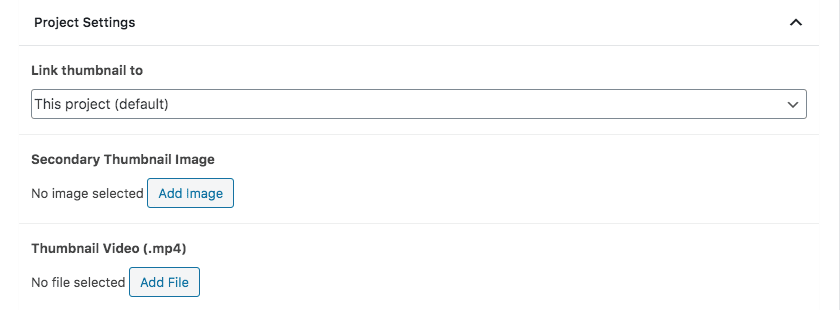
The process of adding projects is quite similar to adding posts:
Bellow editor you can find "Project Settings" section.
These are the default steps that you need to do in order to add a blog post: